Compatibility
The Sim Pedals Baseplate is compatible with our Sim Pedals Ultimate and Sim Pedals Pro. It is not compatible with the Sim Pedals Racecenter.
Parts list
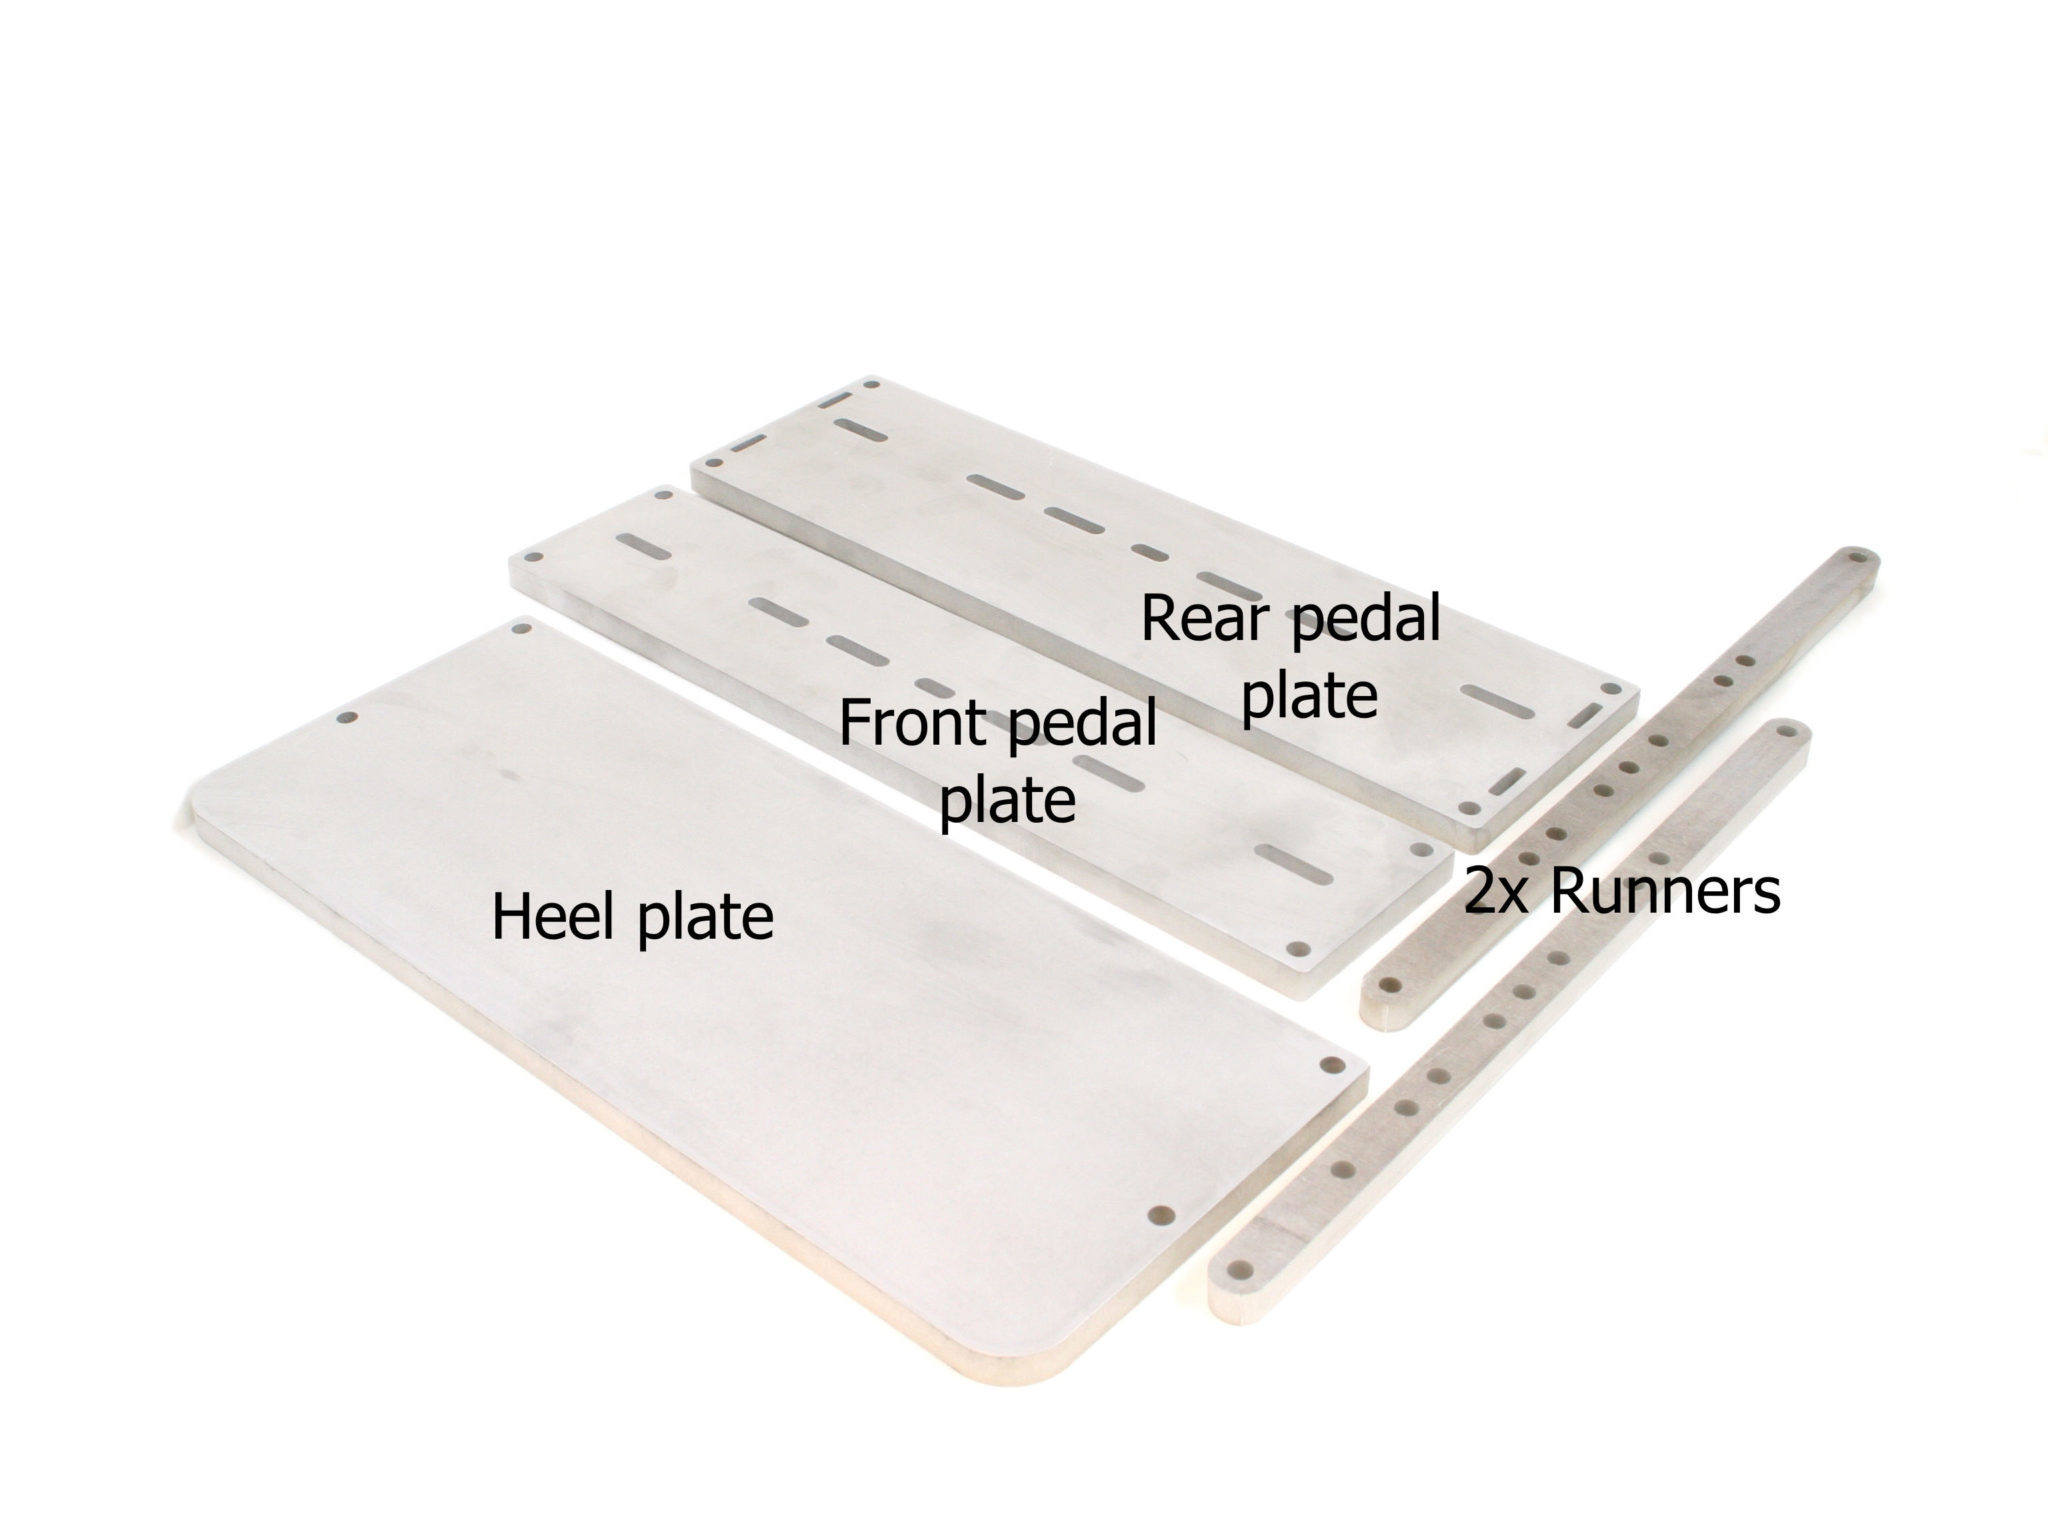
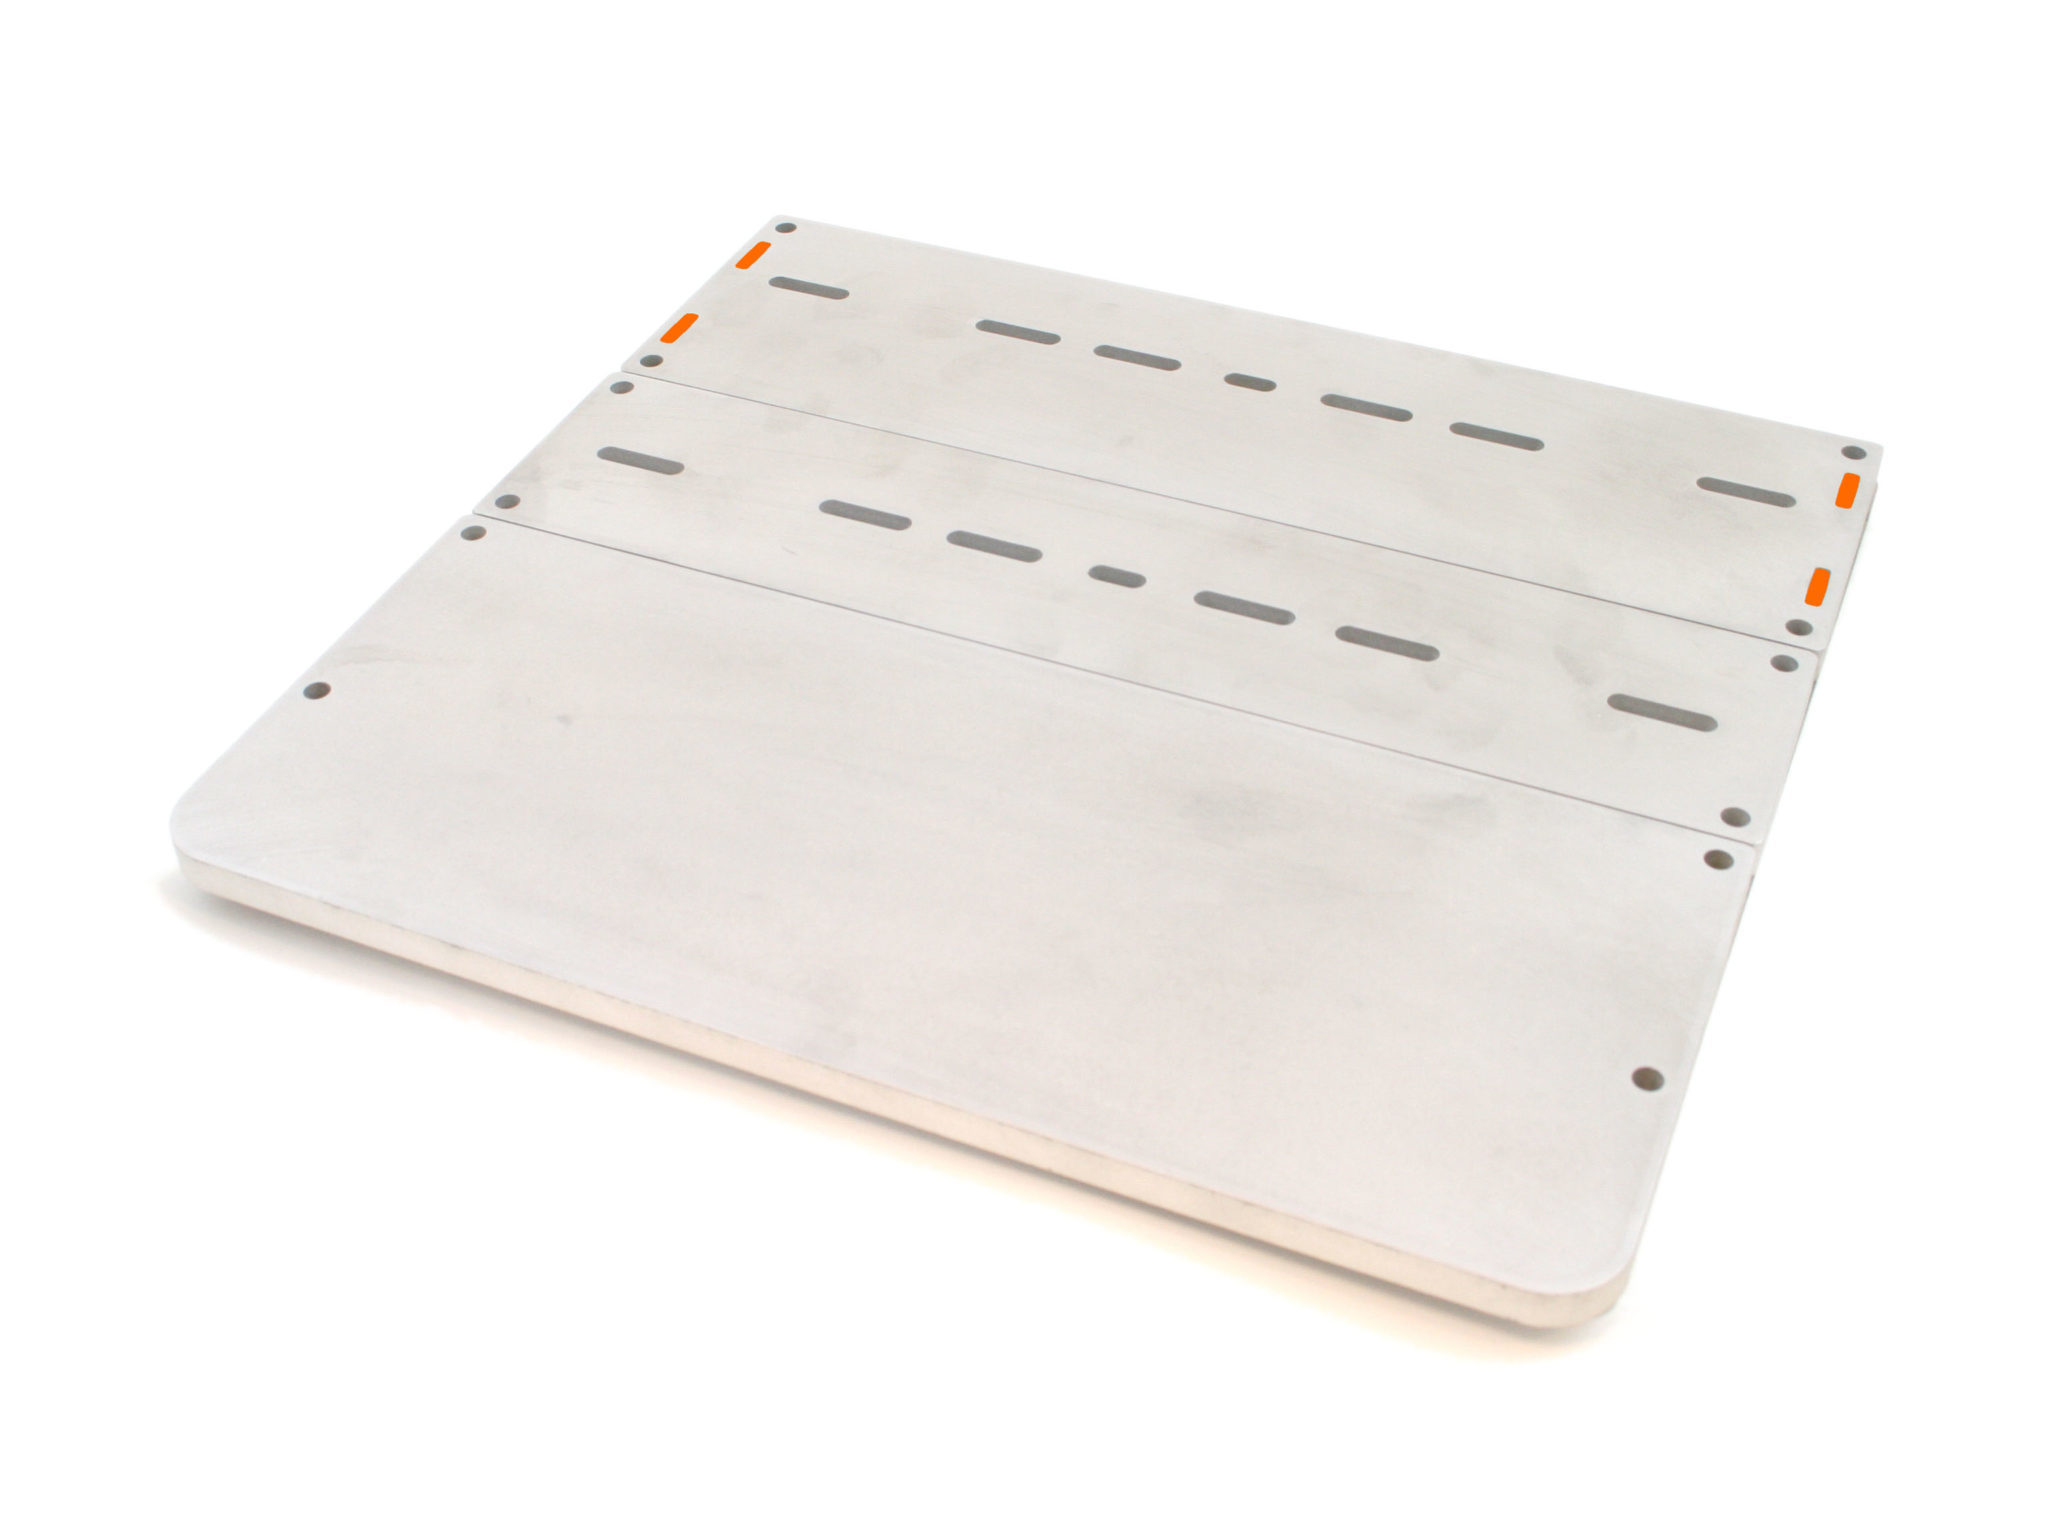
The Sim Pedals Baseplate consists of 5 parts:
- – One rear pedal plate.
– One front pedal plate
– One heel plate
– Two runners.
Every baseplate comes with a set of M6 bolts and nuts to mount the pedals to the baseplate, and the baseplate to a rig. See the images below to identify the various parts.
Mounting materials
The following mounting materials are supplied with each baseplate.
- – 12x 25mm M6 bolt – for mounting the pedals to the plates.
– 12x 30mm M6 bolt – for mounting the plates and runners to your rig.
– 4x 50mm M6 bolt – in conjunction with the spacers these can be used to raise the heelplate.
– 24x M6 nut.
– 36x M6 washers – used between bolts/nuts and pedals/plates to protect the metal finish. These may also be used to slightly raise the height of the plates relative to the runners, in order to create slightly more clearance between the plates and the floor of your rig.
– 4x 20mm M6 spacers – in conjunction with the 50mm bolts these can be used to raise the heelplate.
Installation
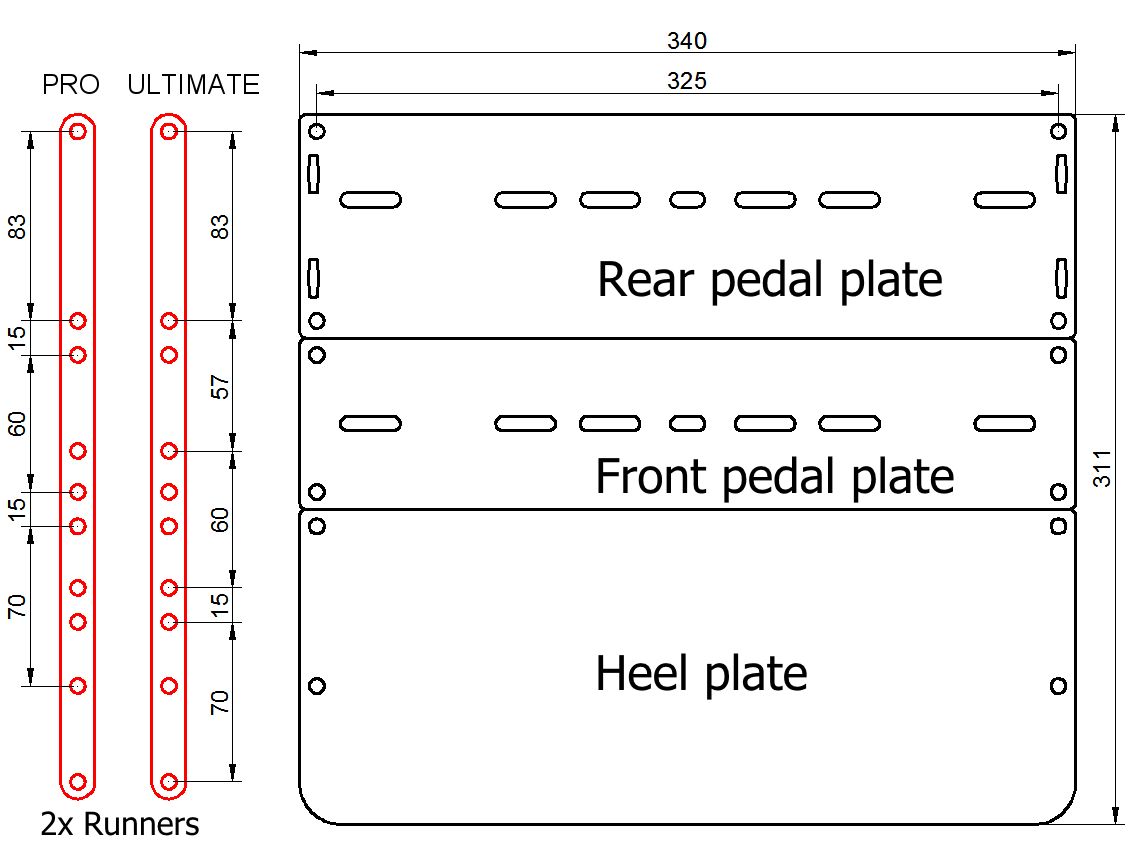
The Sim Pedals Baseplate is a modular system. It will fit both our Sim Pedals Pro and Sim Pedals Ultimate. In order to fit a specific system, the various plates need to be bolted into specific holes of the runners. This will create the correct distance between the front pedal plate and the rear pedal plate for a specific set to be mounted.
You can identify the correct mounting holes for each pedal type in the adjacent image: Green for the Pro pedals, blue for the Ultimate pedals. The mounting holes are size M6 (6 millimetre).
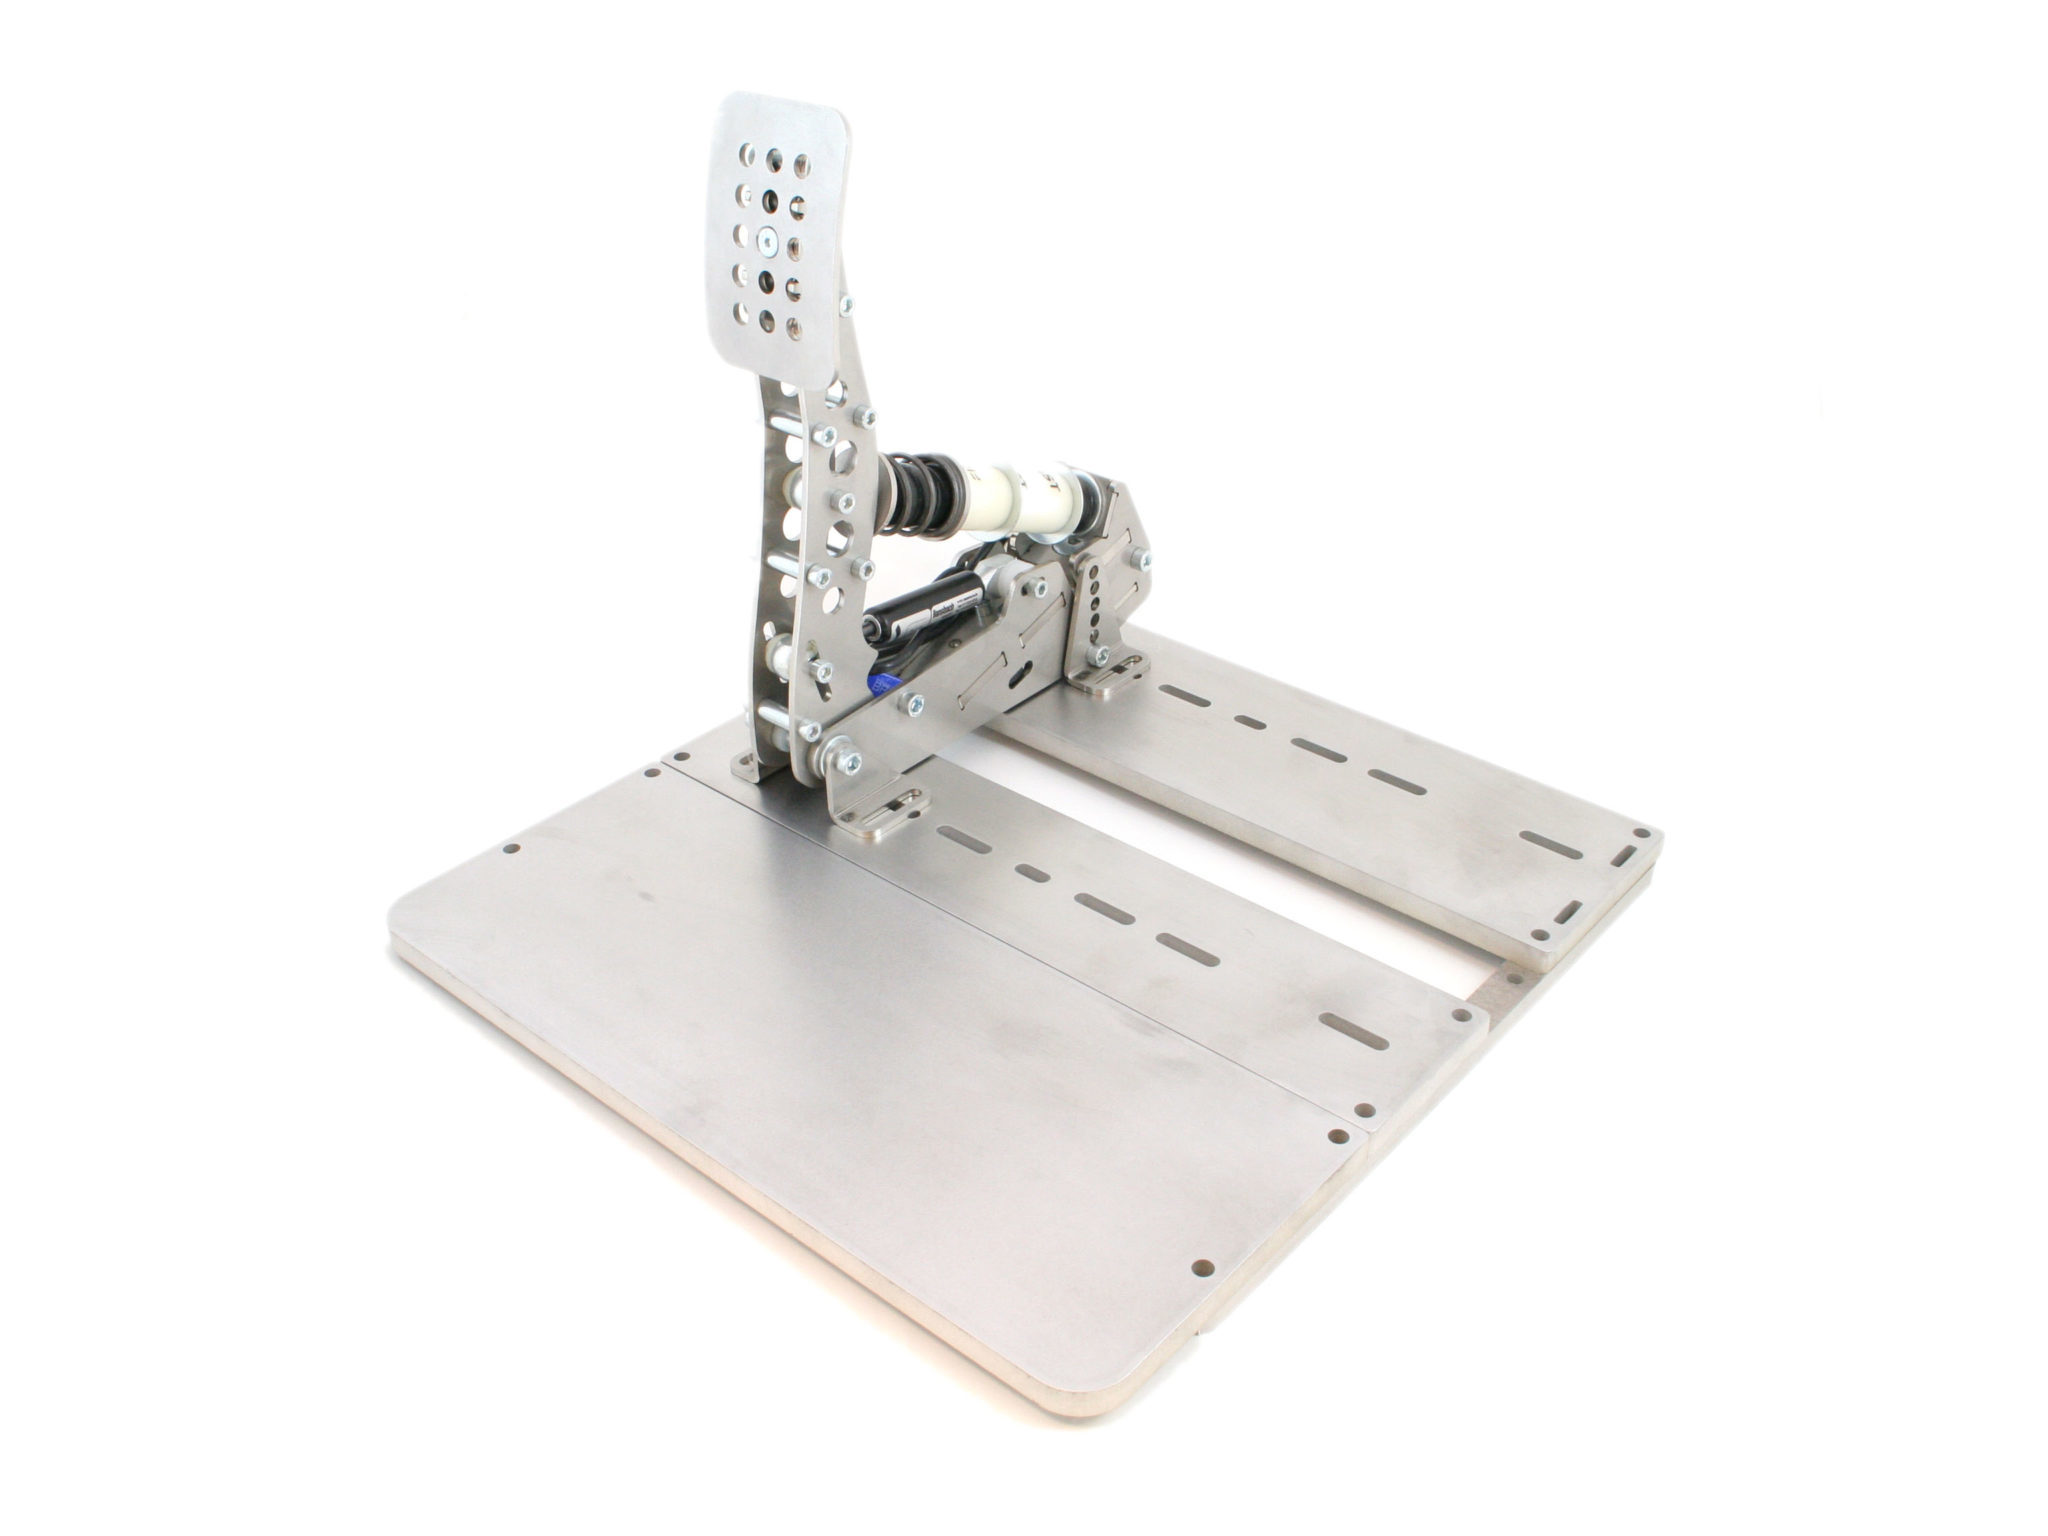
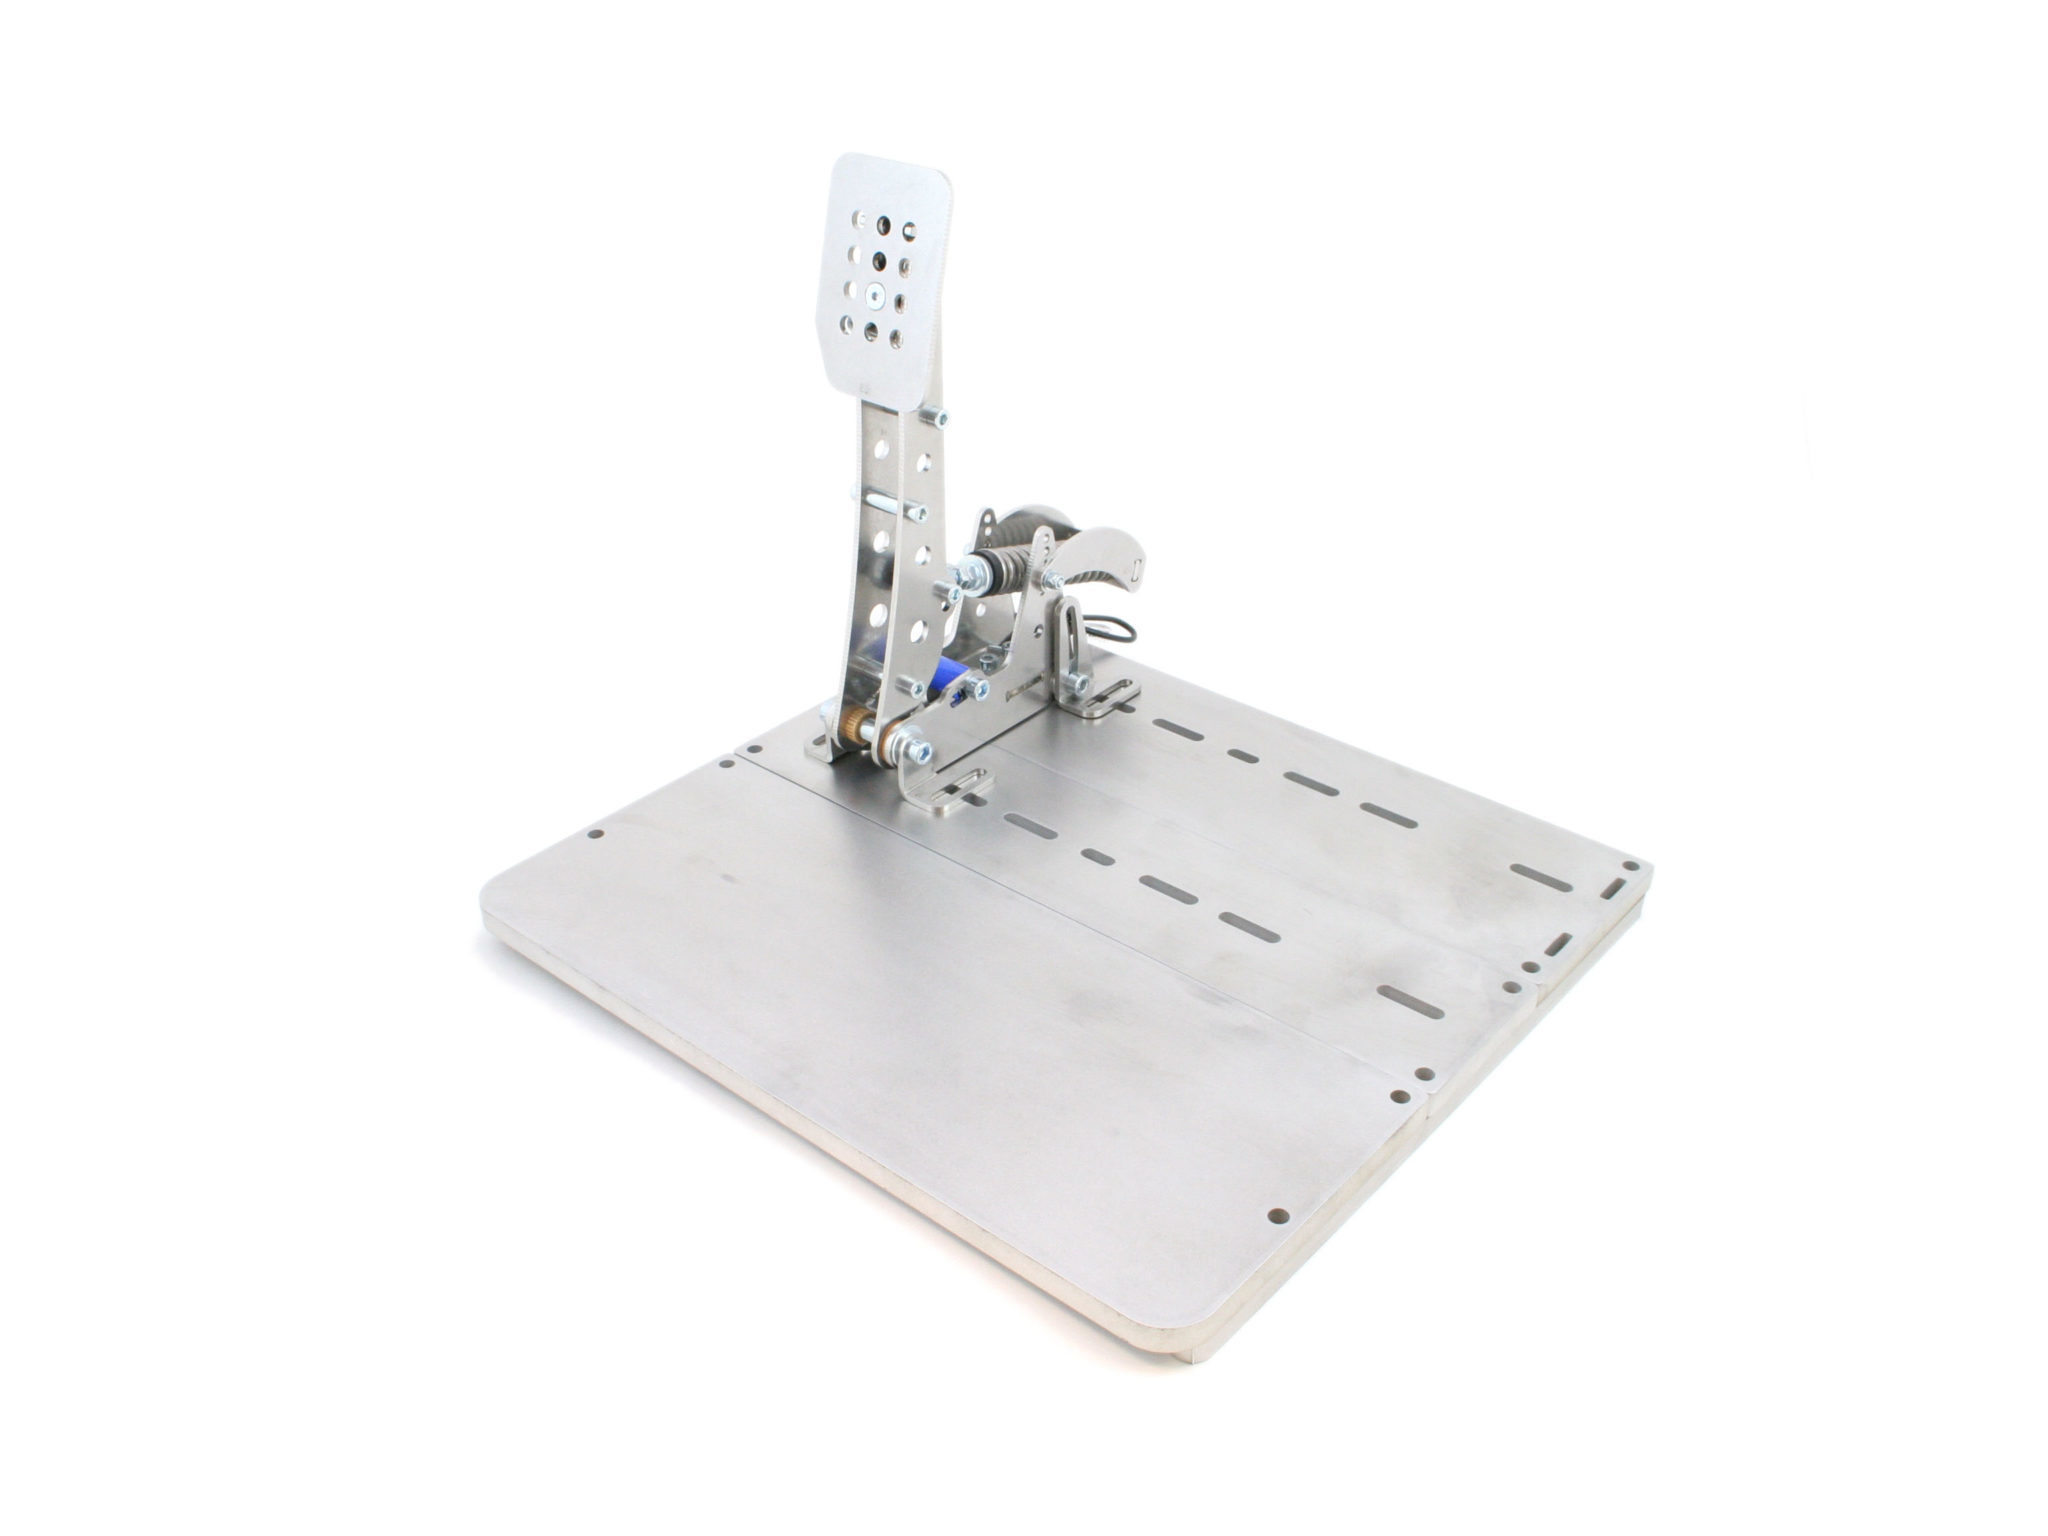
A typical installation for Pro or Ultimate pedals will look like the pictures below. Please note that the images do not show the necessary bolts and nuts and only show one pedal.
It is not mandatory to use the two runners in your installation. Provided you have enough ground clearance to mount the pedals using bolts and nuts (the holes are not recessed) you may elect to mount the plates directly to your rig. In case you want to do an overhead installation (‘hanging’ pedals), you may also choose to detach the heel plate from the assembly and install it elsewhere.
Individual pedal mounting flexibility
nstalling our Sim Pedals on this baseplate still allows you to position the pedals individually. The mounting ‘feet’ of every pedal can slide forward/backward 2,5 cm (1 inch), so pedals can be offset relative to each other (which might assist heel-toe braking techniques).
On the baseplate itself, you can also slide every individual pedal to the left or right by 2 cm (0,8 inch). This allows you to vary the side-to-side clearance of two adjacent pedals by 4 cm.
